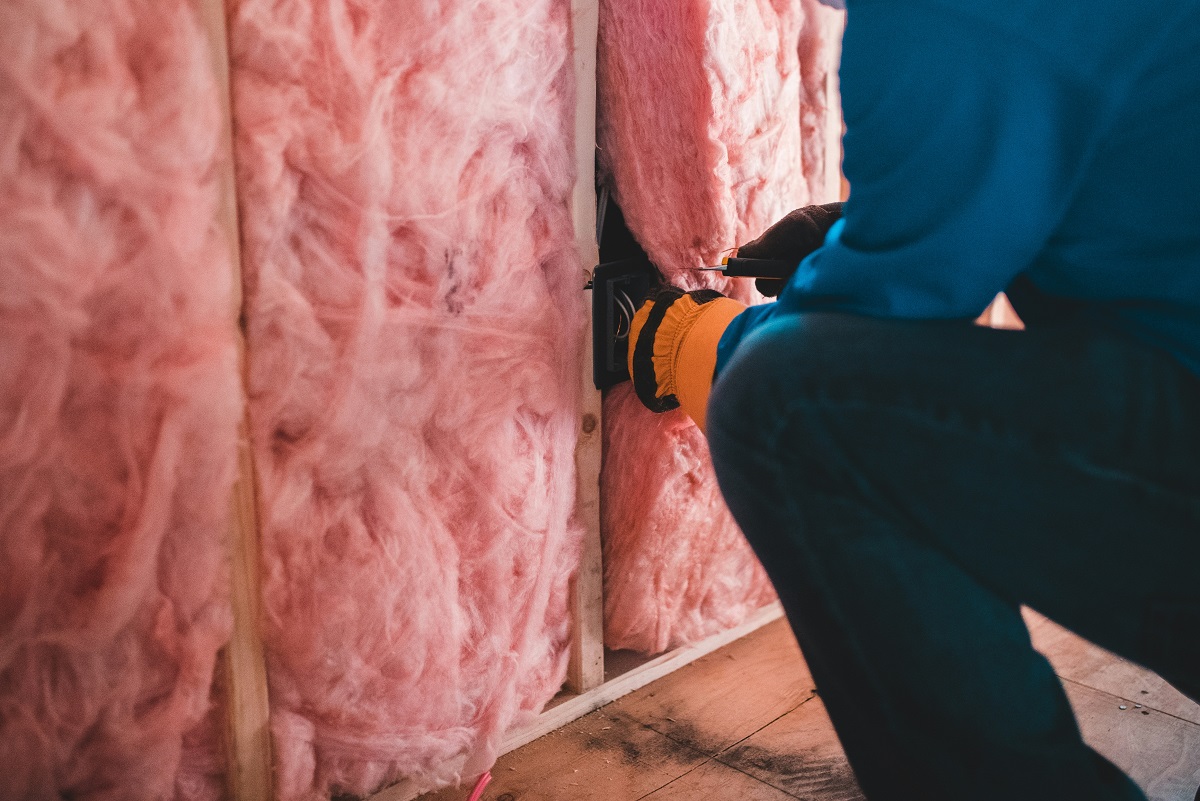
Highlights:
- Rising bills without a lifestyle change are an early red flag. If your energy usage climbs year after year, your insulation may be letting conditioned air escape. The EPA estimates that sealing leaks and adding insulation can cut heating and cooling costs by about 15% on average.
- Uneven comfort and constant drafts point to gaps. Rooms that are always too hot or too cold, and air you can feel near outlets or the attic hatch, usually mean the thermal barrier is thin, shifted, or incomplete.
- Wet or moldy insulation almost always needs replacing. Once it absorbs moisture, it loses most of its ability to resist heat flow. Find and fix the leak or ventilation problem first, or the new material will fail the same way.
- Pests, ice dams, and visible damage are warning signs you can spot yourself. Look for compressed batts, settled loose-fill, tunnels, droppings, stains, or a depth low enough that you can see your ceiling joists.
- Older homes deserve a closer look. Houses built to outdated standards may have very little insulation, and vermiculite insulation should be tested by a professional before anyone disturbs it because of possible asbestos.
- Not every problem calls for a full tear-out. Adding to dry, undamaged insulation or patching small gaps can be enough, but wet, contaminated, or crumbling material should be removed.
- Pair insulation work with air sealing and an inspection. Sealing leaks first helps new insulation perform properly, and an energy audit can pinpoint where your home is losing the most energy.
Most people don’t think about insulation until something goes wrong. It sits quietly in your attic, walls, and crawl space, doing its job without any fanfare. But like anything in your house, it wears down over time. Moisture, pests, settling, and plain old age can all chip away at its performance, and you often won’t notice until your utility bills or your comfort level start telling the story.
The good news is that your home usually drops hints long before the problem gets serious. If you know what to look for, you can catch a failing thermal barrier early and fix it before it costs you more money. Below are nine warning signs that it may be time to replace your insulation, plus guidance on how to check your home safely and decide what to do next.
Why Insulation Doesn’t Last Forever
It’s easy to assume insulation is a “install it once and forget it” product. In reality, its lifespan depends on the material, the installation quality, and the conditions inside your home. Fiberglass batts can compress and lose their loft. Blown-in cellulose can settle over the years. Spray foam can shrink or crack if it was applied poorly. Any type can get soaked by a roof leak or ruined by rodents.
Insulation works by trapping tiny pockets of air, which slows the movement of heat. When those pockets are crushed, wet, or full of gaps, the material simply can’t do its job the way it used to. A house with tired insulation has to lean much harder on the furnace and air conditioner to stay comfortable, and that’s when the warning signs start showing up.
Sign 1: Your Energy Bills Keep Creeping Up

One of the clearest signals is a steady rise in heating and cooling costs when your habits haven’t changed. If you’re using the same thermostat settings, living the same way, and paying noticeably more each season, your home may be leaking conditioned air faster than it used to.
The stakes here are bigger than most people realize. The U.S. Environmental Protection Agency estimates that the average homeowner can trim roughly 15% off heating and cooling costs, or about 11% off total energy costs, by sealing air leaks and adding insulation to attics, floors above crawl spaces, and basements.
Here’s what that number really means. Heating and cooling make up a big share of a typical household’s energy spending, so shaving off about one-seventh of that portion adds up quickly over a year. On the flip side, if your insulation has degraded and you’re doing the opposite of what that figure describes, you’re likely paying a premium for energy that escapes right through your roof and walls. It’s also worth remembering that the EPA number is an average. A home with very thin, damaged, or missing insulation could see a bigger swing than a home that was already reasonably well protected.
To spot this sign, compare your bills from the same months across a few years. Look at usage (kilowatt-hours or therms), not just the dollar amount, since utility rates change. A steady climb in usage with no lifestyle changes is a strong hint.
Sign 2: Some Rooms Are Always Too Hot or Too Cold
Uneven temperatures are a classic symptom. Maybe the upstairs bedroom feels like a sauna in July, or the room over the garage stays chilly all winter. When insulation is patchy, thin, or shifted out of place, some areas of your home lose or gain heat much faster than others.
Here are a few patterns worth noticing:
- Rooms directly under the attic are much hotter than the rest of the house in summer.
- Rooms above garages or crawl spaces have cold floors in winter.
- Exterior walls feel cold or warm to the touch compared to interior walls.
- One side of the house is consistently less comfortable than the other.
Closing vents or cranking the thermostat won’t solve this. The real culprit is often a gap in the thermal barrier, and no amount of HVAC effort can fully compensate for it.
Sign 3: Drafts Show Up Even When Everything Is Closed
If you feel moving air near outlets, baseboards, attic hatches, or recessed lights, something is off. Drafts often point to gaps in both air sealing and insulation. While air sealing is technically a separate job, the two go hand in hand, and a leaky home usually has insulation that isn’t performing well either.
Try this simple test on a windy day. Hold a lit stick of incense or a thin strip of tissue near suspect spots, such as electrical outlets on exterior walls, window trim, and the attic access panel. If the smoke wavers or the tissue flutters, air is getting through. Also check the attic itself. Dark, dirty streaks on old insulation often show where air has been flowing through it, leaving behind dust and grime.
Sign 4: You Notice Moisture, Mold, or Musty Smells
Wet insulation is basically failed insulation. Once it absorbs water, it loses most of its ability to resist heat flow, and it can take a very long time to dry out, if it dries at all. Trapped moisture also creates the perfect environment for mold and mildew, which can spread into wood framing and drywall.
Warning signs include:
- Damp, heavy, or clumped insulation in the attic or crawl space
- Water stains on ceilings or walls
- A persistent musty odor, especially near the attic hatch
- Visible black or green spots on insulation or nearby wood
- Peeling paint or bubbling wallpaper on exterior walls
Before you replace anything, find and fix the source of the moisture. Common causes include roof leaks, poor attic ventilation, plumbing leaks, and bathroom fans that vent into the attic rather than outdoors. Installing fresh insulation on top of a damp problem just sets you up for a repeat.
Sign 5: Ice Dams Form on Your Roof
If you live somewhere that gets snow, icicles hanging off the edge of the roof may look charming, but thick ice dams are a red flag. They form when heat escapes through the attic and warms the roof deck, melting snow from underneath. That meltwater runs down to the cold edge of the roof, refreezes, and builds up into a dam.
A properly insulated and sealed attic keeps the roof surface cold and evenly matched to the outdoor temperature. If snow melts unevenly on your roof, leaving bare patches while the neighbors’ roofs stay covered, heat is likely leaking upward. Even in warmer climates where ice isn’t a concern, roof areas that look unusually hot or dry can suggest similar heat transfer problems.
Sign 6: Pests Have Made Themselves at Home
Mice, squirrels, raccoons, and insects love insulation. It’s warm, soft, and perfect for nesting. Rodents tunnel through it, shred it for bedding, and leave droppings and urine behind, which can contaminate the material and lower air quality in your home.
Here’s how to tell if pests have been busy:
- Tunnels, trails, or bare spots in attic insulation
- Droppings or a strong ammonia-like smell
- Chewed wires or shredded material near eaves
- Scratching or scurrying sounds in walls and ceilings
Insulation that has been heavily soiled or matted down by animals generally needs to be removed rather than patched. Make sure the pest issue itself is addressed and the entry points are sealed first, or the new material will suffer the same fate.
Sign 7: The Insulation Looks Flat, Discolored, or Damaged
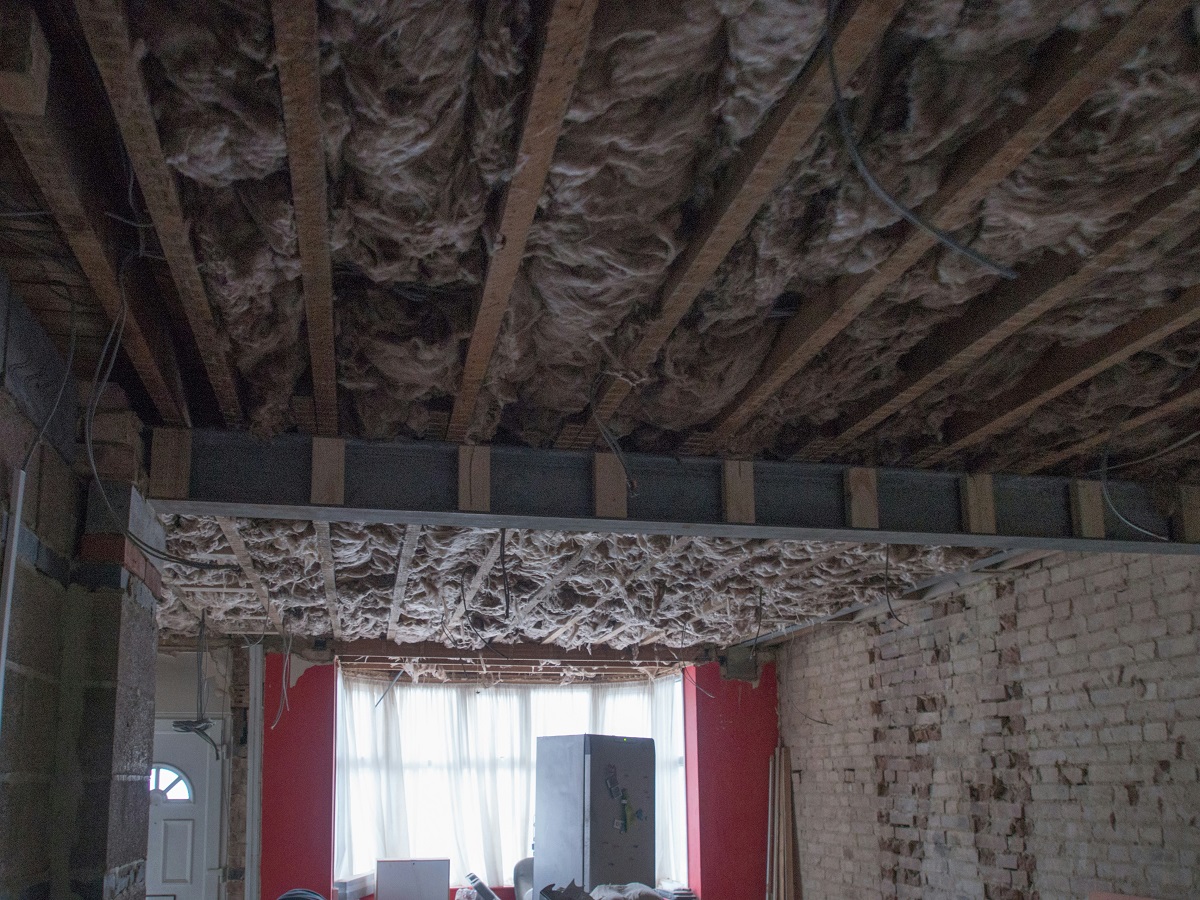
Sometimes a quick visual check tells you all you need to know. Healthy insulation should look fairly uniform, fluffy, and evenly distributed. When it’s in trouble, it often shows it.
Look for these red flags:
- Compressed or flattened batts. Fiberglass loses much of its effectiveness when it’s squashed, whether from age, stored boxes, or foot traffic.
- Settled loose-fill. Blown-in insulation can sink over the years, leaving thin areas near the eaves or around obstructions.
- Gaps and voids. Missing chunks around pipes, wires, and framing leave direct paths for heat.
- Discoloration. Dark or stained patches can indicate moisture, dirt from air leakage, or mold.
- Crumbling or brittle material. Older foam and some other products can break down and turn powdery.
A useful rule of thumb is to check the depth. If you can see the tops of your ceiling joists in the attic, chances are you don’t have enough coverage. The exact target depends on your climate zone and the material, so look up the recommended R-value for your region on the ENERGY STAR or Department of Energy websites.
Sign 8: Your Home Is Older or Was Never Upgraded
Age matters. Homes built decades ago were often insulated to standards that are well below what’s recommended today, and some have very little insulation in the walls or attic at all. If you bought an older house and never checked what’s up there, you may be sitting on a big opportunity.
A quick warning about older materials: some vermiculite insulation, which looks like small, pebble-like, gray-brown granules, has been linked to asbestos contamination. If you suspect you have it, leave it alone and have it tested by a qualified professional before any work begins. Don’t try to sweep, vacuum, or move it yourself.
Upgrading outdated insulation is also one of the smartest moves you can make before putting a house on the market. Buyers pay attention to comfort and utility costs, and inspectors often flag thin or damaged attic insulation. Many sellers and real estate pros list insulation upgrades among the practical repairs to maximize property value, right alongside fixing roof leaks and addressing moisture problems. It’s a relatively affordable project with benefits you can point to on a listing, from lower energy costs to a more comfortable living space.
Sign 9: Your Heating and Cooling System Never Takes a Break
Do your furnace and air conditioner seem to run constantly without ever quite reaching the temperature you set? Long run times are a sign that your home can’t hold onto conditioned air. The system keeps working to replace what leaks out, which drives up your bills and accelerates wear on the equipment.
This can also lead to more frequent repairs and a shorter equipment lifespan. If your HVAC technician has ruled out problems with the unit itself, such as dirty filters, low refrigerant, or an undersized system, poor insulation should be near the top of the suspect list. Sometimes the smartest way to make a new or existing HVAC system perform better is to fix the envelope of the home first.
How to Safely Check Your Insulation
You don’t need to be a contractor to do a basic inspection, but a few precautions go a long way.
In the attic:
- Wear long sleeves, gloves, a dust mask or respirator, and eye protection.
- Step only on the joists or on boards laid across them. Stepping between joists can send your foot through the ceiling.
- Bring a flashlight and a ruler or tape measure to check the depth.
- Look for moisture, stains, pests, and gaps around vents, chimneys, and light fixtures.
In the walls:
- Wall insulation is harder to inspect. A professional can use an infrared camera to spot cold or warm areas without opening anything up.
- Some contractors can also drill a tiny inspection hole or check through an outlet to see what’s inside.
In the basement or crawl space:
- Check rim joists, the wood around the top of the foundation wall, for gaps or damp insulation.
- Look for sagging or fallen batts under floors.
If anything looks questionable, or you’re uneasy about working in tight or hot spaces, an energy audit is a worthwhile step. A trained auditor can perform diagnostic tests, including a blower door test, to pinpoint exactly where your home is losing energy, and they’ll typically give you a prioritized list of fixes.
Should You Add, Repair, or Fully Replace?
Not every insulation problem calls for a complete tear-out. Here’s a simple way to think about it.
Add more insulation when:
- The material is dry, clean, and undamaged, but the depth is below the recommended level.
- You just need to boost coverage in the attic, and the existing layer is in good shape.
Repair or patch when:
- Only small sections are damaged, missing, or compressed.
- A recent repair, like a plumbing fix or wiring job, left a gap.
Fully replace when:
- The material is wet, moldy, or heavily contaminated by pests.
- It has been damaged by fire, flooding, or a major roof leak.
- It’s crumbling, severely settled, or otherwise beyond saving.
- You’ve had asbestos-containing material identified and need professional abatement.
Whichever route you take, remember that insulation and air sealing work best as a team. Sealing gaps around ducts, wiring holes, and attic hatches before you lay down new material helps it perform as intended. Skipping that step is a common reason people feel let down by an insulation upgrade.
Choosing the Right Material and Contractor
There are several main insulation types, and each has strengths.
- Fiberglass batts and rolls: Affordable and popular for DIY, but they need careful fitting to avoid gaps.
- Blown-in fiberglass or cellulose: Great for topping off attics and filling odd spaces.
- Spray foam: Excellent at sealing air leaks and delivering high R-value per inch, though it costs more.
- Rigid foam boards: Useful in basements, foundation walls, and some roof assemblies.
- Mineral wool: Resists fire and moisture well and adds some sound dampening.
When you hire a professional, ask for multiple quotes, confirm licensing and insurance, and request details on the R-value they’ll install rather than only the thickness. Ask how they’ll handle air sealing, ventilation, and any moisture concerns. A reputable contractor will be happy to explain their plan and answer questions.
It’s also worth checking whether tax credits, rebates, or utility incentives are available for insulation upgrades in your area. Programs change from year to year, so verify the current details on official government or utility websites before you budget.
Closing Thoughts
Insulation may be out of sight, but it should never be out of mind. Rising bills, uneven temperatures, drafts, moisture, pests, visible damage, an aging home, and an overworked HVAC system are all clues that your thermal barrier is no longer pulling its weight. Catching them early can save you money, improve your comfort, and protect the structure of your home from moisture and mold damage.
If even one or two of these signs sound familiar, take a look in your attic this weekend or schedule an energy audit. A small investment of time now could translate into lower bills, a quieter and more comfortable home, and real peace of mind for years to come.